Getting Started
Overview
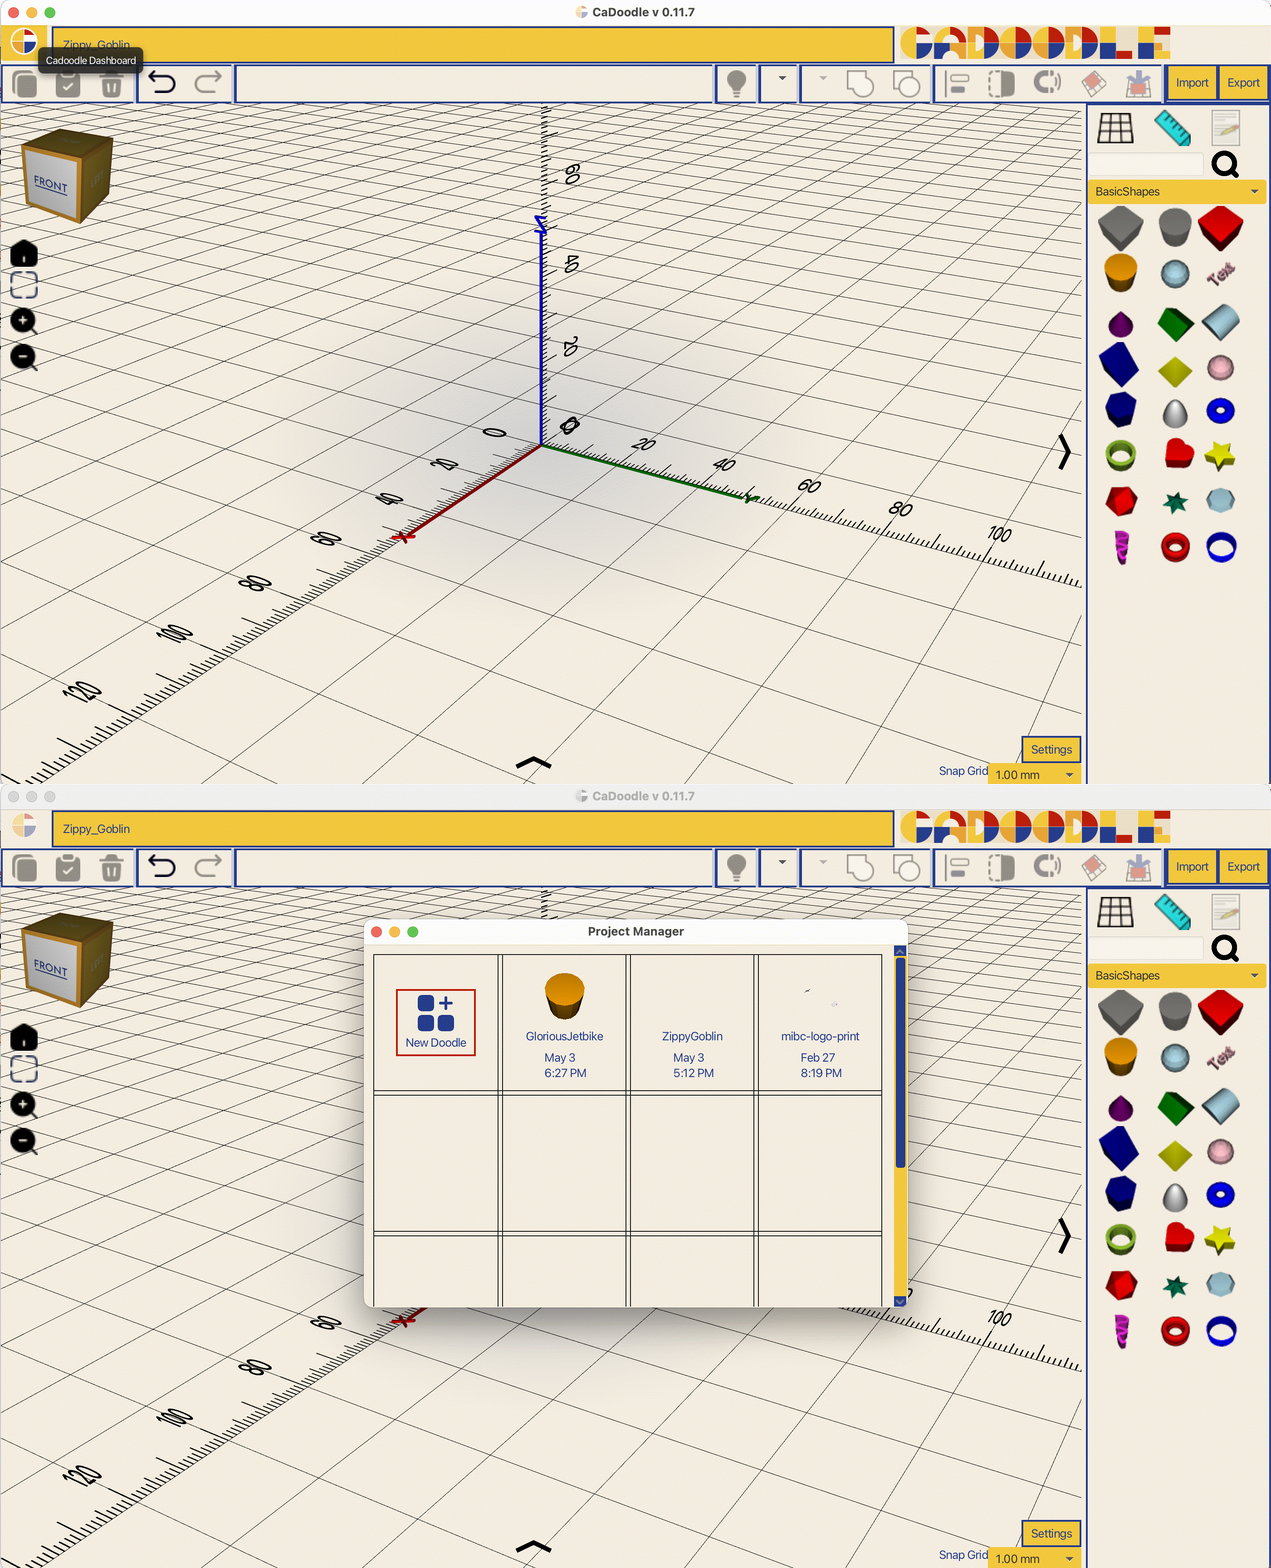
CaDoodle works with .doodle files. These files are stored on your local machine. They are created and accessed from the CaDoodle Dashboard.
Creating your first shape
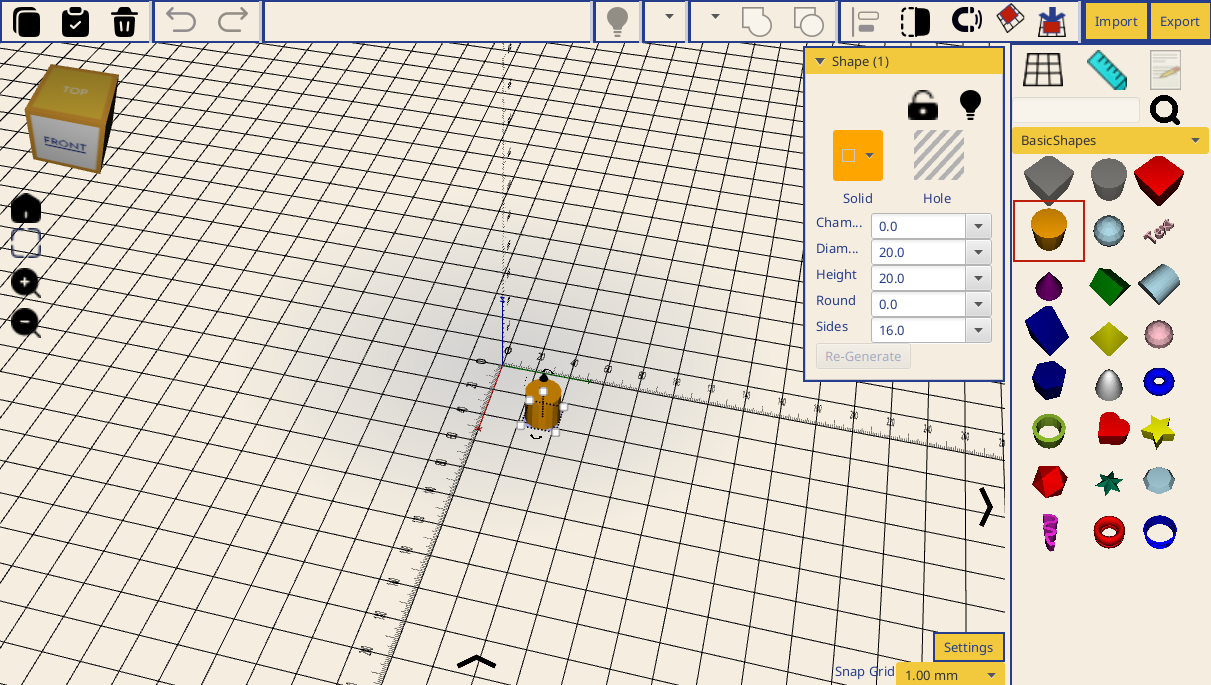
Each new .doodle file launches as a clear workspace with a shape panel on the right side. To add a shape to your workspace, click on the shape in the panel.
Clicking on the shape will place it on the workspace and select it.

Customizing shapes
When a shape is selected, a customization menu appears. The options available depend on the type of shape:
- Chamfer / Fillet — round off or bevel the edges of a shape
- Number of sides — change how many sides a cylinder or polygon has (e.g., turn a cylinder into a hexagon)
- Dimensions — set exact width, height, and depth values
Experiment with these options to see how they change your shape. You can always undo a change if the result isn't what you expected.
Grouping and ungrouping
Grouping combines multiple shapes into a single object. This is how you build complex models from simple parts.
- Select the shapes you want to combine
- Click the Group button

Once grouped, the shapes move and resize together as one object.

To edit individual shapes again, select the group and click Ungroup.
Solid vs Hole
Every shape in CaDoodle has a status: Solid or Hole. Solids are the material your model is made of. Holes subtract from solids when grouped together — they're how you carve out features like screw holes, slots, or hollow interiors.
To change a shape's status, select it and use the Solid / Hole toggle in the customization menu.

When a shape is set to Hole, it appears striped or transparent — that's the visual cue that it won't appear in the final model on its own.

Holes only do something when grouped with a solid. Place a hole shape where you want material removed, position it, then group it with the solid. The result is the solid minus the hole.